Pfsense Hardware Setup Guide


In this guide, we'll delve into the world of pfSense and walk through the process of setting up some custom pfSense hardware.
Before we dive into the technical details, let's take a moment to understand what pfSense is and why it's become a popular choice for network enthusiasts and professionals alike.
What is Pfsense?
PfSense is a versatile open-source platform built for efficient network management and security. Operating as a firewall, router, and VPN gateway, pfSense empowers users with a user-friendly web interface that sidesteps complex command-line interfaces. Its arsenal of features includes robust firewall capabilities, streamlined VPN setup (OpenVPN, IPSec, L2TP), and dynamic routing for optimal data flow.
Going beyond the basics, pfSense offers intrusion detection and prevention, ensuring your network is shielded from potential threats. Quality of Service (QoS) ensures seamless prioritization of critical applications, while a captive portal is on hand for secure guest network access. Equipped with DNS, DHCP services, and customizable reporting tools, pfSense is adaptable to both small-scale home networks and expansive enterprise setups. With the added flexibility of package management for expanding functionality, pfSense is the go-to solution for those seeking a cost-effective, powerful network management tool. Step into the world of pfSense to elevate your network management prowess.
What hardware should I use ?
When it comes to hardware options, there are a few routes you can take. While many experts suggest opting for Netgate's native hardware for robust production setups, if you're looking for a more personalized solution, consider alternatives like the AppNeta M70. This choice boasts impressive capabilities, effortlessly reaching speeds of 1 gigabit up and down. So whether you're leaning towards tried-and-true or seeking a tailored approach, pfSense has you covered
Netgate 1100
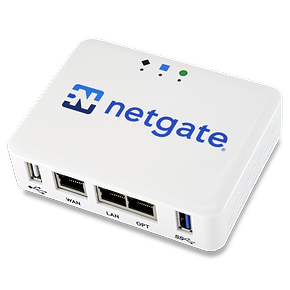
You can't go wrong with using netgate , but it is a bit pricey. For $189 you can get the their lowest end Netgate 1100 which should be good for a home lab setup.
Specs
- Dual Core Cortex-A53 ARM64 Soc @ 1.2GHz
- 8 GB eMMC
- 3-Port 1 GbE Ethernet Marvell switch
- 1 GB DDR4
AppNeta M70
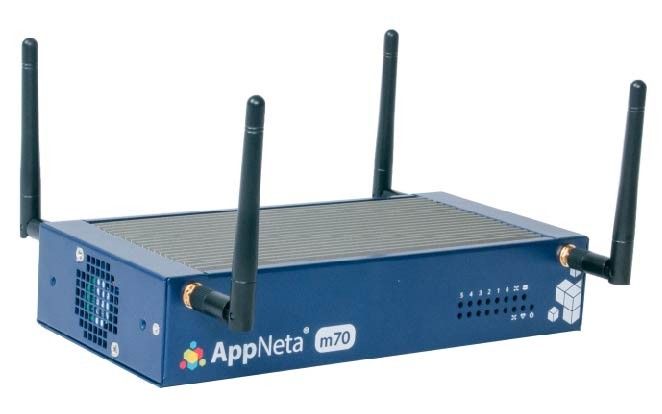
I went with the AppNet M70. Its intel based with impressive specs. You can get one for around $280 on ebay.
Specs
- Intel Atom C3758 Processor @ 2.2 GHz (eight core processor, supports AES-NI)
- 8GB DDR4 RAM
- 32GB SSD
- 2x USB 3.0 Ports
- Serial console port
- 6x Gigabit Ethernet ports (six copper, all Intel-based & rear accessible)
There are other custom solutions out there and you could even run pfsense on an old pc .
If you have custom hardware and buy it online , I recommend installing a fresh copy so that you can start from scratch.
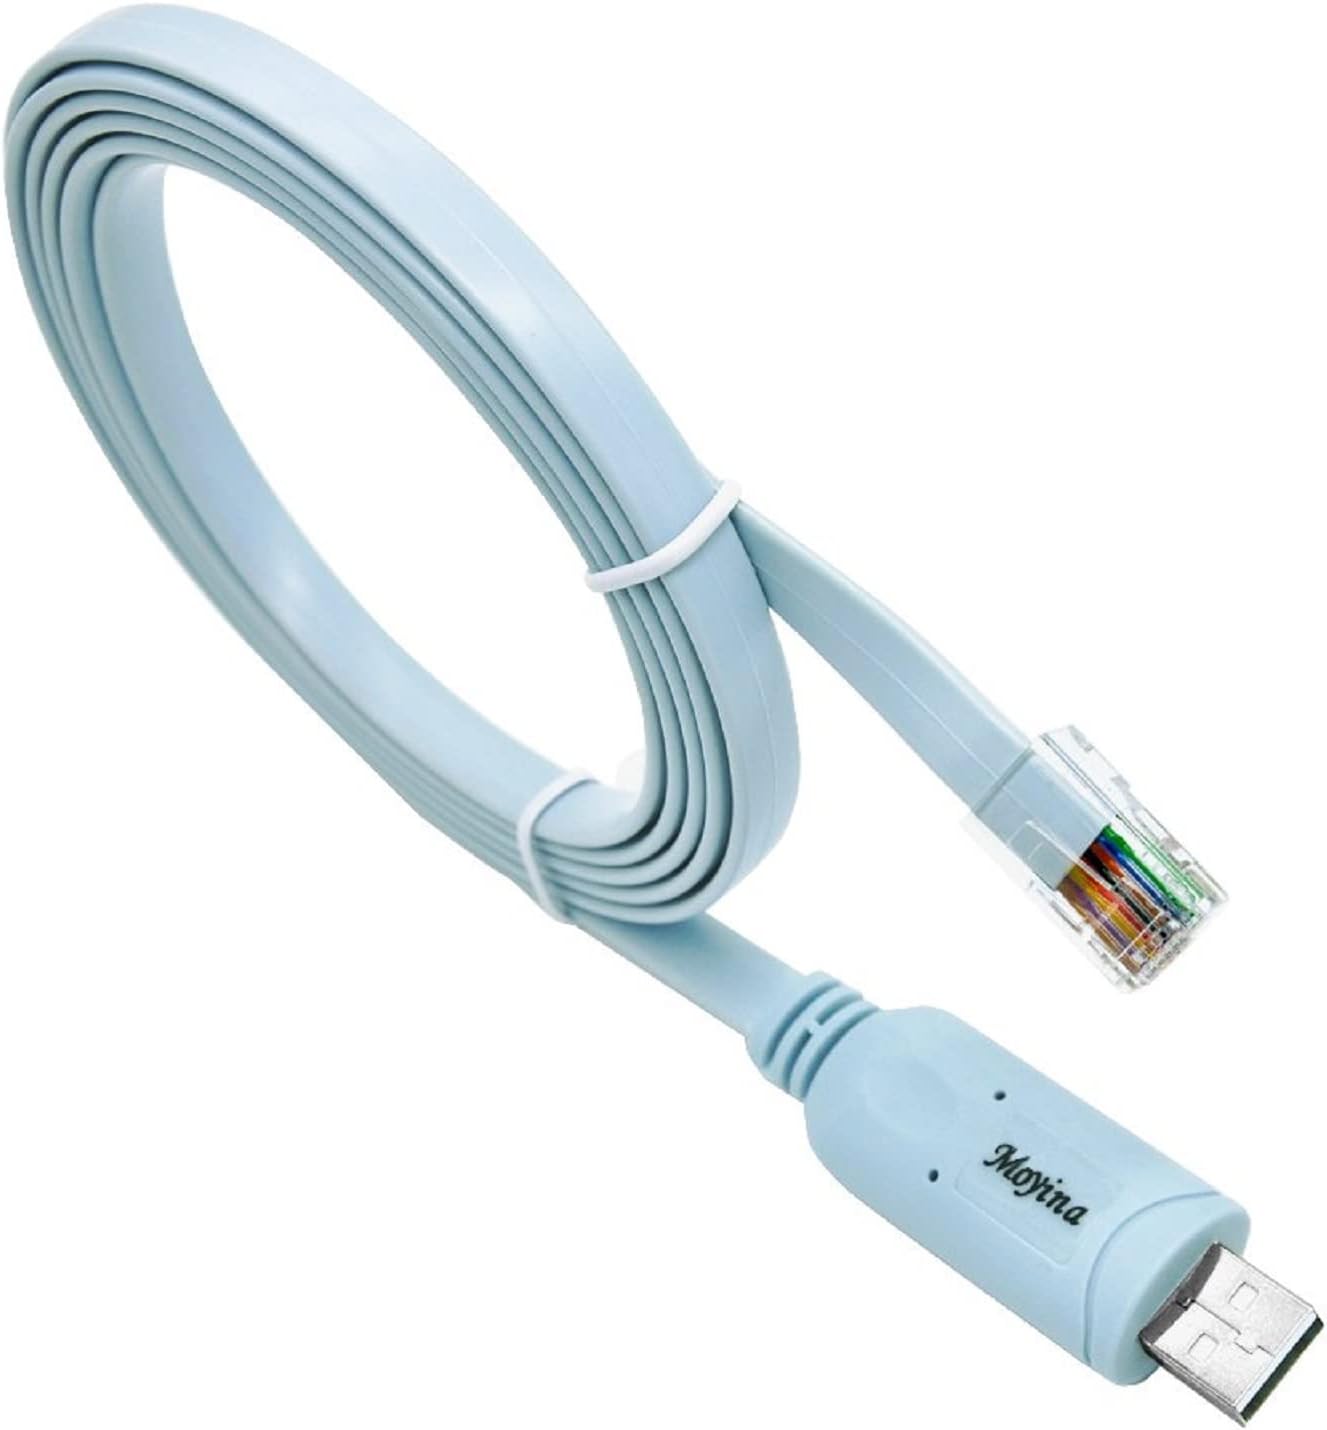
Installation via Console Port
If your using hardware that doesn't have a monitor port it probably has a console port which you need to connect via serial port . If you don't have a serial port you can pick up a usb to ethernet serial port . I used the one below.

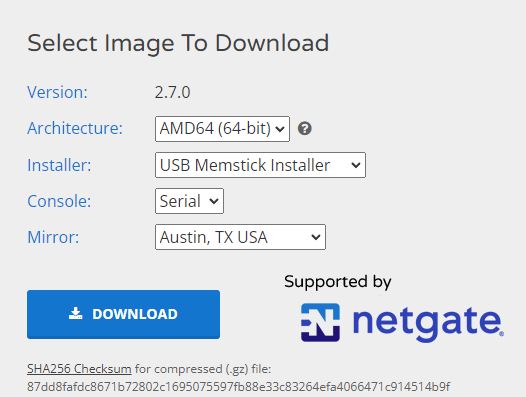
Download pfsense community edition (link below)
I used the following options when downloading the Image , note the Architecture , mirror and console options.
Extract the downloaded gz file.
Create a bootable USB (windows)
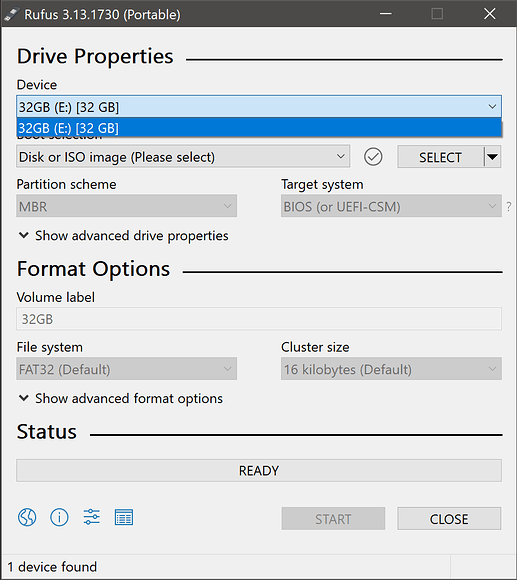
I recommend using https://rufus.ie/en/ on windows.
- Open Rufus and select your flash drive from the "Device" drop-down menu.
- Insert your USB stick
- In the "Boot selection" section, click the "Select" button and choose the pfsense img file you downloaded.
- Click the "Start" button to begin the process of creating the bootable flash drive.
Check out this article for more details.
https://ubuntu.com/tutorials/create-a-usb-stick-on-windows#1-overview
Install unbuntu on all your Atomic pis
Steps:
- Insert the flash drive into the Atomic Pi and power it on.
- Press the "Del" key to enter the BIOS settings.
- Change the boot order to prioritize the flash drive.
- Save the changes and exit the BIOS.
- The system will boot from the flash drive and start the Ubuntu installer.
- Follow the on-screen instructions to complete the installation process.
- Make sure to turn ssh on!
Use PuTTy And install Pfsense
PuTTY is a popular terminal emulator that you can use to access the console port of your router and install pfSense. Here's a step-by-step guide on how to use PuTTY to install pfSense via the console port:
1. Download and Install PuTTY:
If you haven't already, download PuTTY from the official website: https://www.putty.org/
Install PuTTY on your computer by following the installation instructions.
2. Connect to the Console Port:
Use a serial cable to connect the console port of your router to a USB port on your computer. Make sure you have the appropriate cable and adapter for this connection.
Power on your router.
3. Determine the COM Port:
In Windows, go to the "Device Manager" (you can search for it in the Start menu or right-click on the "Computer" icon and select "Manage," then choose "Device Manager").
Under "Ports (COM & LPT)," you should see an entry for the USB-to-Serial adapter you connected. Note the COM port number associated with it (e.g., COM1, COM2, etc.).
4. Configure PuTTY:
Launch PuTTY from your computer.
In the PuTTY Configuration window:
In the "Category" list on the left, select "Session."
For "Connection type," choose "Serial."
In the "Serial line" field, enter the COM port you noted earlier (e.g., COM1).
Set the "Speed" to the baud rate recommended for your router (often 9600 or 115200).
Click the "Open" button to start the serial connection.
5. Access the Router Console:
You should now see the console output from your router in the PuTTY window. Press Enter a few times if you don't see any output to wake up the router.
Depending on your router, you might need to press a specific key combination (like Ctrl + C or Break) to interrupt the boot process and access the console menu.
6. Install pfSense:
Once you have console access, boot off the usb we created with the pfsense installation files. Follow the on-screen prompts to install pfSense. The installation process will guide you through various configuration options such as disk partitioning, network settings, and so on.
Make sure to carefully follow the installation instructions provided by pfSense.
7. Complete the Installation:
Once the installation is complete, the router will likely reboot automatically. You may need to remove the USB-to-Serial cable at this point.
That's it! You've successfully used PuTTY to access the console port of your router and install pfSense. Remember that the specific steps might vary depending on your router model and the version of pfSense you're installing. Always refer to the documentation provided by pfSense and your router manufacturer for accurate and detailed instructions.